In this article , we will see the installation of vSphere 6.0 VMware ESXi . There are multiple ways to install the ESXi. If you are planning to install less than 10 ESXi hosts, you can prefer the typical interactive installation method. In this method, we need to boot the physical X86 server using the ESXi installer DVD and respond to the installer prompts to install ESXi to the local host disk. The ESXi installer re-formats and partitions the target disk and installs the ESXi boot image. If the target disk doesn’t have existing ESXi installation , the installer overwrites the existing data on the disk, partitions and other operating systems.
1. Insert the vSphere 6.0 VMware ESXi installer DVD in to the system.
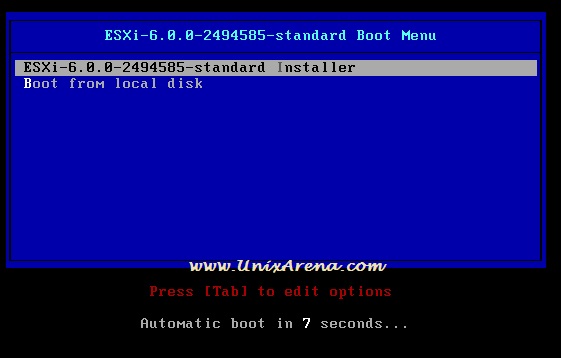
2. Boot the system from DVD drive. (Selecting from BIOS Menu). You will see the standard ESXi 6.0 Boot Menu like below. Press “Enter” to continue
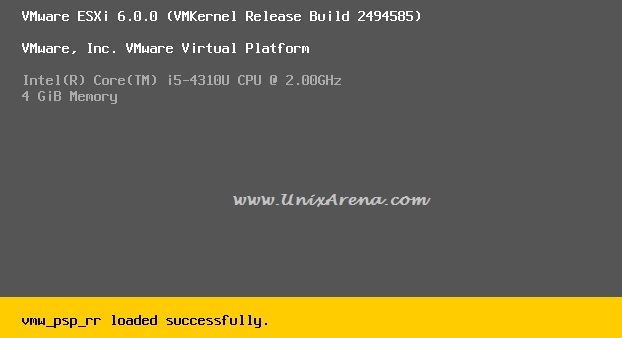
VMware ESXi will load the necessary libraries to install the hyper-visor.
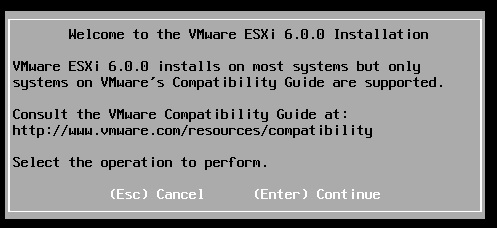
3.Go through the VMware hardware compatibility guide to see whether your hardware is listed or not. If your hardware is not listed, then you can’t get the support from VMware for the host. Press “Enter” to continue.
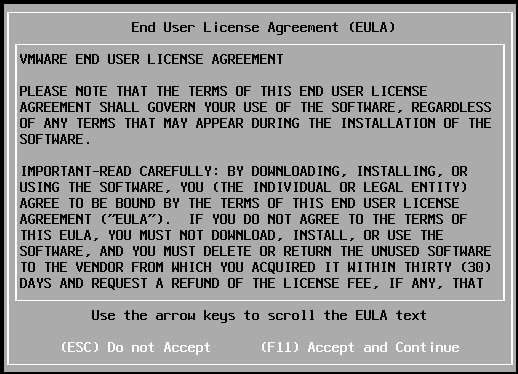
4. Accept the end user licence agreement by pressing F11.
Scanning the available devices.

5. Select the disk for the ESXi installation and “Enter” to continue.
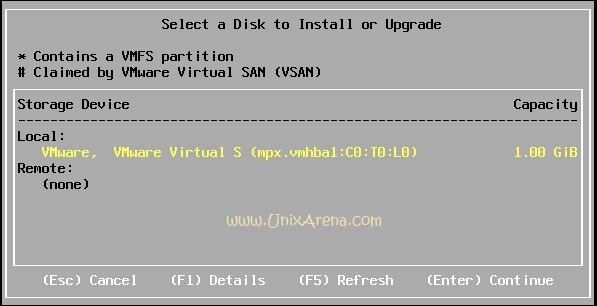
Note: For demonstration purpose , I am installing the ESXi on the VMware workstation.
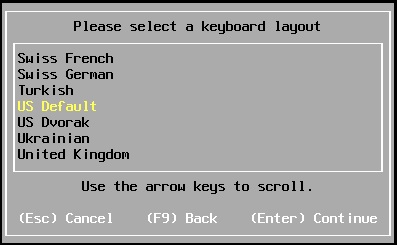
6.Select the keyboard layout.
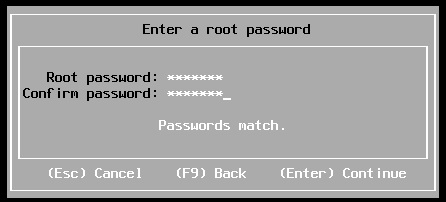
7. Set the root password for the hypervisor.
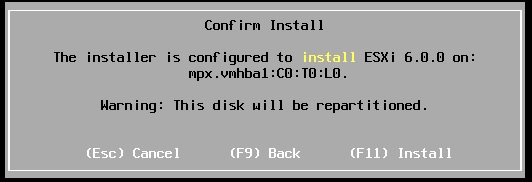
8.Press F11 to begin the installation.
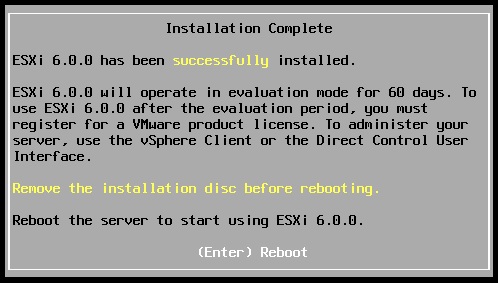
9.Press “Enter” to reboot the host to complete the installation.
System is rebooting .

After the installation , system will come up with DHCP IP and hostname as “localhost”.

Hope this article is informative to you. In the next article ,we will see that how to configure the VMware ESXi 6.0 ‘s networking and changing the hostname to desired one.
Thank you for visiting UnixArena.
Leave a Reply