• Skip to primary navigation
  • Skip to main content
  • Skip to primary sidebar

UnixArena

  • Home
  • Discover DevOps Tools
  • kubernetes
  • DevOps
    • Terraform
    • Jenkins
    • Docker
    • Openshift
      • OKD
    • Ansible engine
    • Ansible Tower
      • AWX
    • Puppet
  • Cloud
    • Azure
    • AWS
    • Openstack
    • Docker
  • VMware
    • vCloud Director
    • VMware-Guests
    • Vcenter Appliance 5.5
    • vC OPS
    • VMware SDDC
    • VMware vSphere 5.x
      • vSphere Network
      • vSphere DS
      • vShield Suite
    • VMware vSphere 6.0
    • VSAN
    • VMware Free Tools
  • DevOps Instructor-led Training
  • Contact

Deploying Altaro VM Backup – Protect VMware & Hyper-V

January 24, 2018 By Cloud_Devops Leave a Comment

Altaro VM Backup is affordable and easy to use backup solution for VMware vSphere and Hyper-V virtualization environments.  Altaro VM Backup execute quickly and easily and it gives complete control over backup/restore jobs which is crucial. Altaro VM Backup provides you with quick access to all hosts in your environment. It supports multiple technologies like SQL, Exchange, consistent  Linux VM backup,  flexible backup destinations and supports different type of backup medias. Altaro doesn’t provide an appliance for its backup solution and it relies on Windows servers to run.  Let’s  see that how to deploy Altaro VM backup and launch the Altaro console.

Altaro also offers a free version, please check out here for more about pricing.


1. Download Altaro from Altaro portal.

Altaro VM Backup - Installer File
Altaro VM Backup – Installer File


2. Double-click the installer file to start the Altaro VM Backup installation wizard.

Altaro VM Backup - Click Install
Altaro VM Backup – Click Install


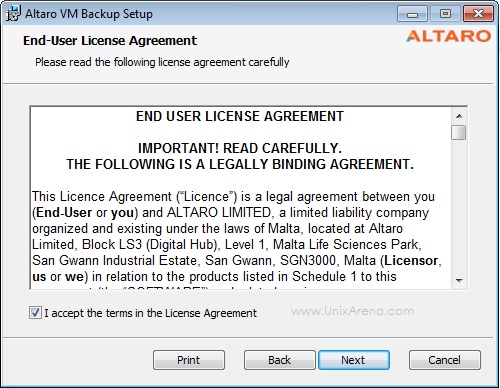
3. Accept the license agreement.

Altaro VM Backup - Accept License
Altaro VM Backup – Accept License


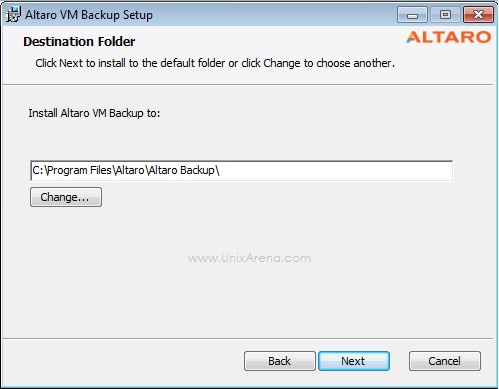
4. Select the destination folder for installation.

Select the installation directory - Altaro VM Backup
Select the installation directory – Altaro VM Backup


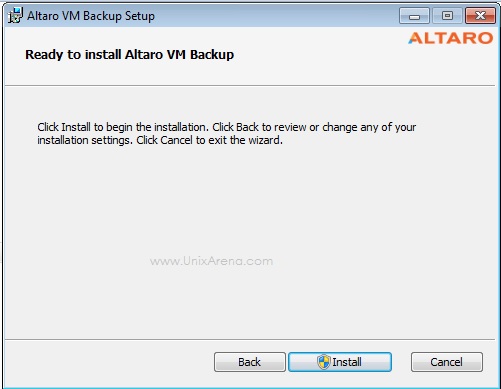
5. Click “Install ” to start the Altaro VM backup.

Altaro VM Backup - Click Install
Altaro VM Backup – Click Install


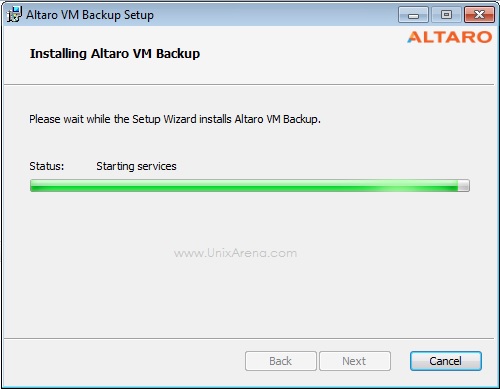
6. Here you can see that Altaro VM backup is starting the services.

Altaro VM Backup - Starting Services
Altaro VM Backup – Starting Services


7. Once the installation is completed, click on “Launch console ”

Altaro VMBackup - Launch Management Console
Altaro VMBackup – Launch Management Console


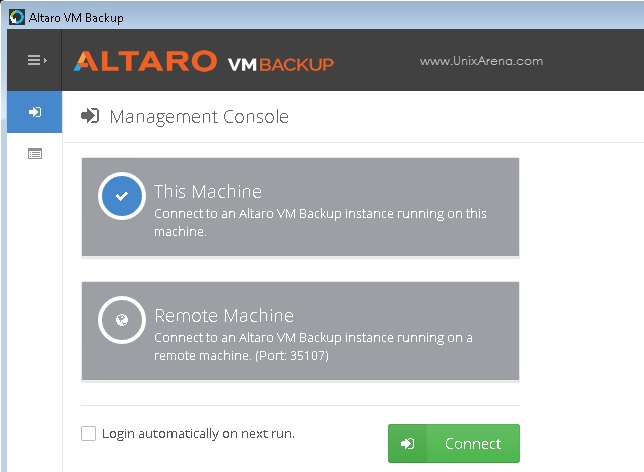
8. Here is the Altaro VM Backup management console.

Altaro VMBackup - Management Console - Localhost
Altaro VMBackup – Management Console – Localhost


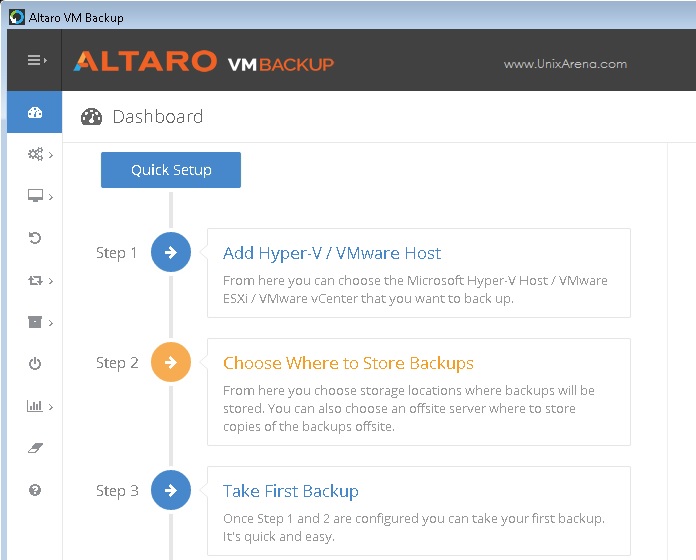
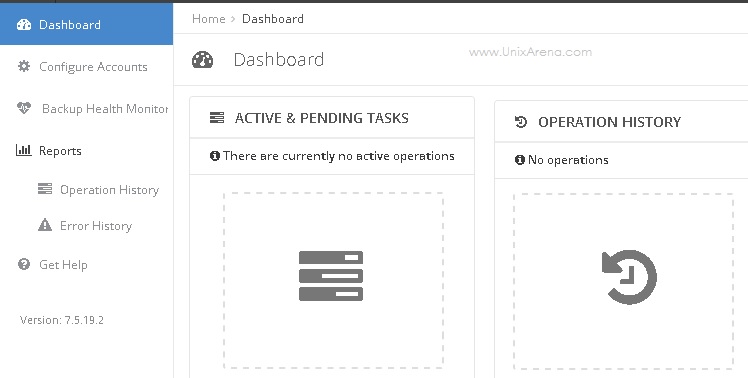
Here is the Altaro VM backup dashboard.

Altaro VMBackup - Management Console
Altaro VMBackup – Management Console


Altaro VM Backup is bundled  with  different components :

  • The main application – Altaro VM Backup
  • The Remote Management Tools
  • The offsite copy utility – Altaro Offsite Server


Altaro Offsite Server: 

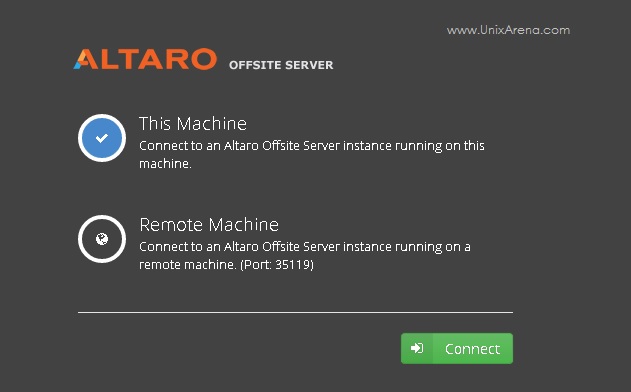
Open the Altro offsite server, Select “This Machine ” to connect to the Altaro offsite server.

Altaro VM Backup - Connect to an Altaro offsite Server
Altaro VM Backup – Connect to an Altaro offsite Server


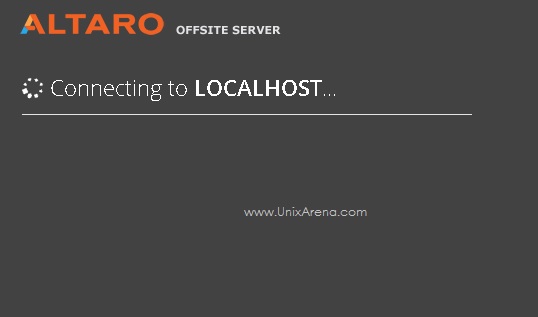
Connecting  to the localhost,

Connecting to Localhost - Altaro VM backup
Connecting to Localhost – Altaro VM backup


9. Here is the dashboard of Altaro VM Backup offsite.

Altaro VM Backup - Dashboard
Altaro VM Backup – Dashboard


We have Successfully deployed Altaro VM backup. In the upcoming article ,we will see that to protect VMware VM, hosts using Altaro VM backup solution.

Filed Under: Altaro VMBackup, Backup Tagged With: Altaro VMBackup, VMware

Reader Interactions

Leave a Reply Cancel reply

Your email address will not be published. Required fields are marked *

Primary Sidebar

Follow UnixArena

  • Facebook
  • LinkedIn
  • Twitter

Copyright © 2025 · UnixArena ·

Go to mobile version